Welcome to How Tos with Meli Wraps!
Meli Wraps boxes are the best! Whether it's gifting treats to your favorite people or getting your dog an emergency drink at the beach, the Meli Wrap box is a fun and useful fold to learn. Here we give step-by-step instructions so you can make a Meli Wrap box of your own. These boxes can be made with both small and medium wraps (or any square piece of bulk wrap that you cut). We suggest starting with either a medium (10"x10") or a large square from the bulk rolls (13.5"x13.5" is a square using the entire width) so that the folds are easier to do. Don't worry if your box doesn't go perfectly the first time, you're using a Meli Wrap so no matter what the folds look like, the wrap will stick to itself!
Want step-by-step instructions? Just scroll down! We've got written instructions and photos illustrating each step.
How to Make a Meli Wrap Box
Want a FREE medium Meli Wrap for your first Meli Wrap Box? All you have to do is spend $50 and you'll get a FREE medium Meli Wrap and FREE shipping!

Step-by-Step Instructions
1. Fold all four corners of your Meli Wrap into the center so you have a smaller square.

|

|
2. Now fold two opposite sides of the Meli Wrap in to the center. These will now be your 'sides' and the other two we'll call the 'ends'.
 |
 |
3. Unfold the two folds you just made so that you have a little square again. Then, unfold the ends of your Meli Wrap.
 |
 |
4. Now unfold the two ends. Always pay attention to the creases, the folds you're making will make it easy to make your box.
|
 |
5. Fold the two longer sides into the center. Your Meli Wrap Beeswax Wrap will be a box soon!
 |
 |
6. Now for a very fun fold. Take the ends of your beeswax wrap and fold them along the diagonal line we've illustrated.
 |
 |
7. Unfold the two ends so that your Meli Wrap looks like the picture below. Pay attention to the fold lines on the ends of your Meli Wrap. These will be the folds you use in step 6.
 |
 |
8. Now lift the two sides so that they're standing up like this:
 |
 |
9. This is the really fun fold! Using all the creases you've created fold as shown and stick the folds to the end. The end should be standing up when you're done with this step.
 |
 |
10. Fold the standing end down then into the box. This should create the third wall of your box.
 |
 |
11. Your box should have three sides now. Repeat steps 9 & 10 on the other end.
 |
 |
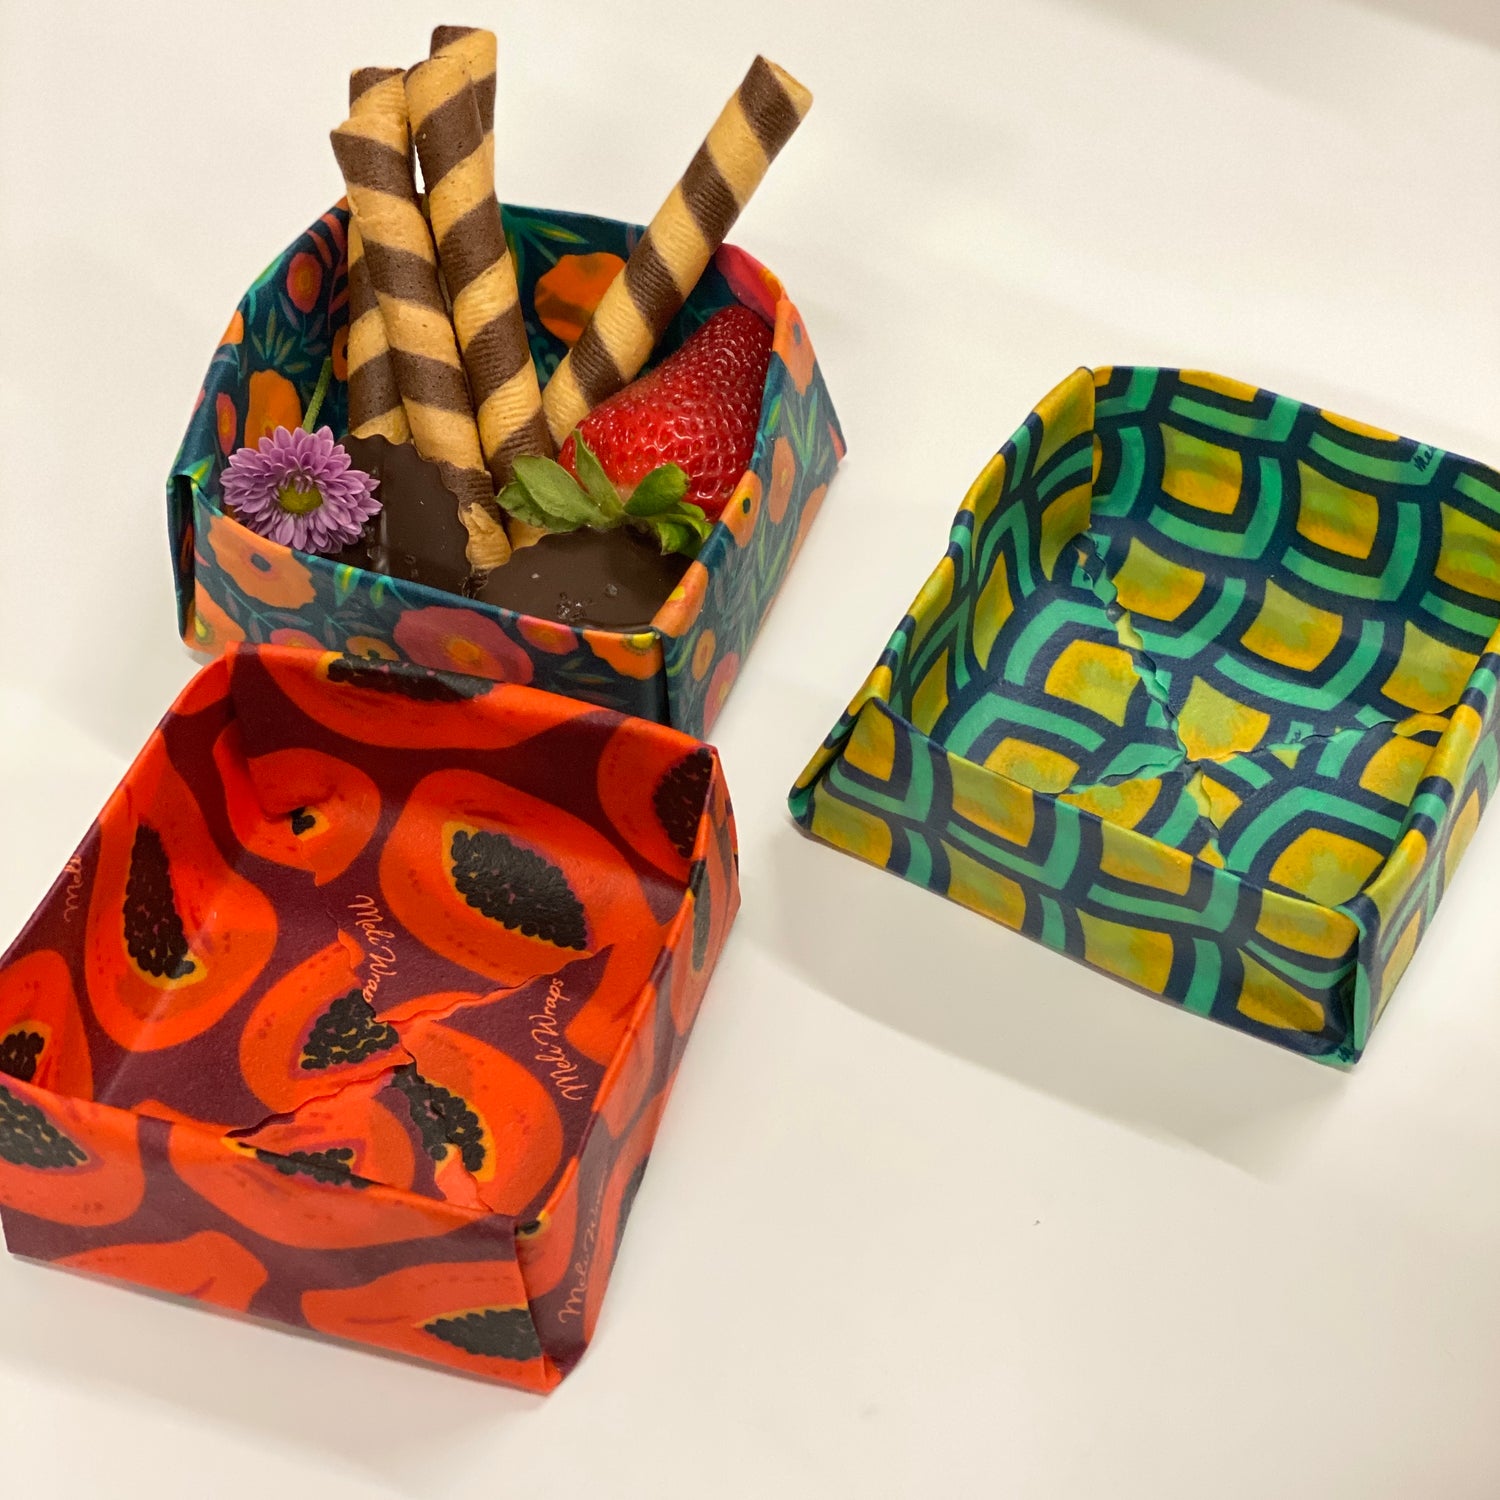
YOU MADE A MELI WRAP BOX!
Use your box to hold treats, snacks, or gifts. You can even make a slightly larger box to use as a lid!
 |
 |
Leave a comment